If you are an owner or planning to own electric golf cart, it is important for you to learn how to take care of your golf cart batteries. Maintaining the batteries properly can make it lasts long and save some extra penny as well.
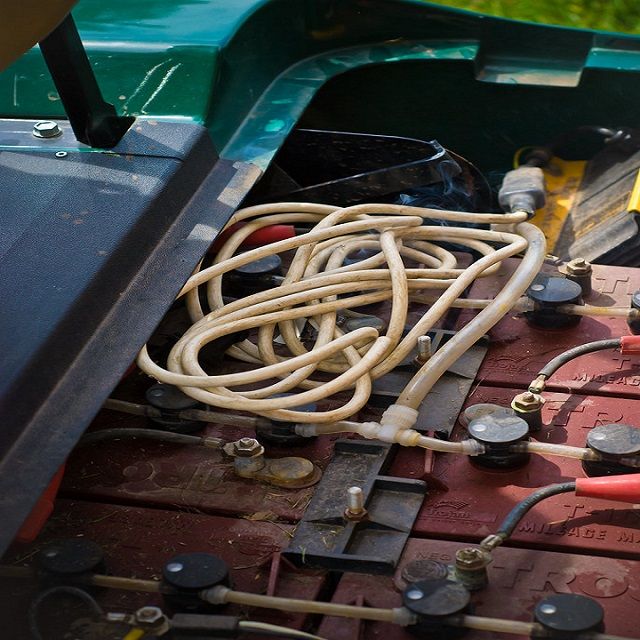
However, most of the golf carts have 4 to 8 batteries under the front seat. Each battery needs to be cleaned periodically and refilled with water. Make a schedule so that you remember to do that and take care of your battery 3-4 weeks. Here are some guides and steps about how to take care of your golf batteries in some best and easy ways.
Quick Navigation
1. Refilling the Golf Cart Batteries with Water
This is the most important part of maintaining your golf cart batteries. You always have to make sure that the water level is at optimal height in the battery cells.
First, take acid-proof goggles and gloves and put it on your eyes and hands. Though there is not any chance to get contact with the battery acid, we always recommend to take precaution. Now, open the vent caps of the batteries. But before doing that unplug the battery. After opening the compartment under the driver seat, you will see the battery box which is covered with plastic caps. You can pull off that by your hand. Be cautious, there can be acid on the caps. So Place them on a rubber mat or a ground floor instead of placing them on metal surfaces.
Now, look inside. You will see a series of plates. Check whether the fluid level is above the plate or not. If the level is not exceeded, you will need to adjust it before charging your cart. You need some distilled water to fill the batteries now. Use a funnel to avoid any mess. Fill the batteries with water until it reaches the plates.
After finishing the fill-up, plug your cart into the battery charger. Have patience here. The batteries need to be charged fully before you move your cart. It can take about 10-12 hours.
Here remember two things:
(a) do not overcharge the batteries;
(b) always use a good quality charger.
When your batteries are fully charged, unplug the charger but keep your cart still turned off. Now open the battery cap again and fill up the batteries gradually with distilled water until it is almost full. Never fill it completely. This may split up.
Now put the cap back as it is on the batteries. Make sure you have tightly adjusted the cap so there will be no chance that it will come off while on driving.
2. Cleaning the Golf Cart Batteries
Cleaning the batteries and outside of batteries can improve its working life. When you see corrosion around the battery terminals, you should immediately clean them off. But we always suggest a routine cleanup of your golf cart batteries.
To start the cleanup process, take some water and baking soda and mix those with equal quantity. Then take some of the mixtures on a toothbrush and scrub at the corrosions. You can use an old piece of cloth to clean up the side areas. When the built-up corrosions are removed, rinse the area with water. Do not forget to use a good amount of battery terminal protector which will prevent building up the extra corrosion.
Finally, dry the batteries and extra water with a clean cloth. You can also use an anti-corrosive spray which will coat the metal connectors and prevent future corrosion. A regular anti-corrosive spray after cleaning up the can increase the life expectancy of your golf cart batteries.
3. Performing Schedule Maintenance
Scheduled maintenance is a must for increasing the battery life of your golf cart. If do not want to change the batteries just after one or two years then you have to invest some of your time instead of investing money. So, here are some things that you should routinely do as a part of the maintenance of the battery of your golf cart.
- Check the batteries at least once a month: You should make a habit of checking the batteries routinely to see whether it needs water fill up or the terminal cleanup. Take note, in warmer months; the batteries need to be filled up more frequently than regular fill up.
- Check is there any damage on the batteries: Damages can happen to the batteries at any time. There may be acid leaks also. If so, you might see dripping liquid and distortions in the battery casing. In this case, you must have to change or replace your battery. If there is any crack, you can seal that with non-flammable, acid-resistance paste or gum. Like epoxy glue.
- Change if there are any frayed cables: Frayed cables can cause electrical hazards and should be replaced before running your cart again. Purchase a good quality cable and replace it with the old one immediately you have seen any frayed or ragged cable in the battery box.
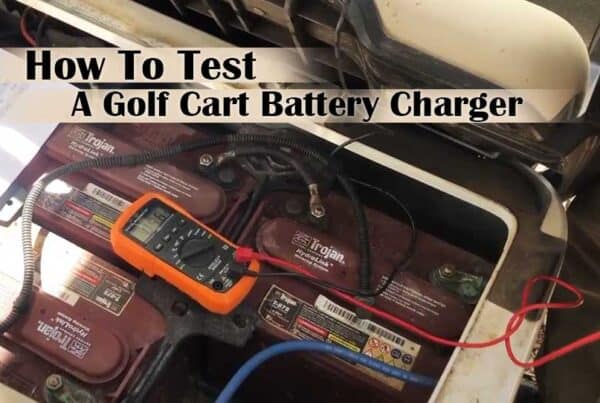
- Check batteries with a multimeter: If you think there is having any issue inside the batteries, you should test them with a multimeter. If you find low voltage, it means you should replace your golf cart batteries with a new one.
4. Prevent Corrosion
Corrosion on the connections of batteries and the posts is one of the major factors that shorten battery life. So, you need to make sure that the battery will not take more than 70% of its reserve capacity. You can also coat anti-corrosion lubricants on the wire lungs, nuts, and terminals of the batteries. A thin layer of petroleum jelly or Vaseline can also give extra protection to the battery’s terminals.
5. Charging the Batteries in the Right Way
There are some rules to charge the golf cart batteries in the right way. Here are those:
- Do not overcharge the batteries.
- Charge the batteries in an open well-ventilated area.
- Do not charge if the battery cells are being dried or have loos terminals.
- It is not necessary to recharge your batteries after every single use.
- Do a refresh charge in every 6-8 weeks and more frequently in warmer months.
Final Verdict
So, you are now fully aware of taking proper maintenance of your golf cart batteries. If you properly follow the steps we have described above, the batteries should last a minimum of 5 years. So, you can travel a longer distance with the charges. Just follow the guides and procedure perfectly.


